Video Transcription
Hello, everyone, and welcome in today's video, I'm going to show you step by step how to automate your website using a plugin called Uncanny Automator, coming up.
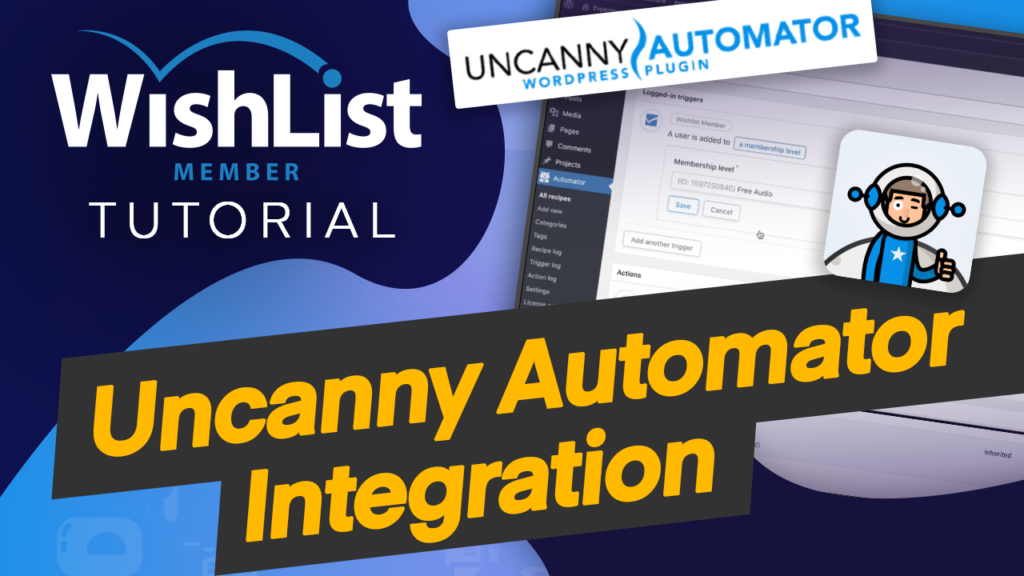
Hello, everyone, and welcome. My name is Mak, and in today's video, I'm going to be talking about how to automate your membership website using Uncanny Automator. Now, the good thing about WishList Member is it allows us to connect with so many “Other Services” or plugins out there, which means you can have unique workflows on your website. So in today's video, we're going to be talking about Uncanny Automator. It's a plugin that allows to automate certain processes as they happen on your website.
So it has a free and also you can upgrade to the Pro version. So I'm going to be using the Pro version because it has all the integrations and even more features. All right. So let's dive in. Let's take a look at how we install it and how to set it all up. OK, so now I'm going to switch over to my website here. So I've gone to “Plugins” because we need to install the plugin. All right.
So what I want to do now is to search for the Plugin. And here it is. So this is the Plugin that we need to install. Now, this one here is free, so I'm going to go ahead and click “Install” and then we need to activate it. So go ahead and click on “Activate”. So I already have the Pro version and I've already gone ahead and downloaded it. It's on my computer and now it's time to install the Pro version.
So I'm going to come back over here. In fact, I can just add it over here. I'm going to click on “Add New” “Upload Plugin” and then I'm going to go into my downloads folder, which is right here. And you can see here, this is Uncanny Automator Pro I'm going to go ahead and double click on that click “Install” and now this is going to install my Pro version. Now, the reason why the Pro version is better is because it has a lot more integrations and also more features.
So this is why I've gone ahead and selected the Pro version. OK, so this is installing. And now it's time to activate it on the click on “Activate.” All right, so now that it is activated, the next part now is to look for the entry over here on the left panel, and it is right here called Automator. So what I need to do next now is to activate my license. So I'm going to come all the way down here to license activation.
So here is where I need to enter my license key. Now, I'm going to click on Activate Now, but of course, if you don't have a license, you want to click on “Buy Now.” All right. So my license now is active. So now let's take a look at all recipes. So they are several recipes. In fact, the “Automations” are called recipes in here. So you should click on “Add New.” What you're going to notice is you're going to see all the possibilities and also the plugins that we can use.
So first of all, you have to choose the recipe type. So this could be for logged in users and this could be anonymous. So for login users, if you click here and confirm, you can give it a name. So you can say, I'll just add one. OK, I'm not really creative right now, but the most important thing is you can see here that you have WishList Member here so you can set up so many triggers here or so many recipes based on our logged in users here.
So let's say you click here on WishList Member. You want this to be triggered when someone is added to a Membership Level. So I'm going to come over here to Membership Level. Now, this is going to show all my Membership Level. Now, it's very important that you create your Membership Level first because otherwise they will not show over here. So I have free audio downloads, so this is my level. So if I click here and save, so here you can see clearly it says “A user is added to free audio.”
OK, so that's the Membership Level. So here is where you decide what should happen. If I click on “Add Action,” I could say, OK, when someone is added here, I can now go to say, for example, Learn Dash and add them to a group or enroll them on a course. So let's say here and “Enroll on a course.” Now, again, you also need to have all your courses ready. So in this case, I have this email marketing course.
So all I have to do now is to click on Save. And this is the action that takes on when someone is added to this list. So as you can see, this is really, really powerful. You can use this to add so many things on your website and you can add as many of these recipes as you want. OK, so after this happens, you can also send them to a redirect URL. So this could be to maybe a dashboard of your course or even the landing page.
So this is where you would add your link once this action happens. So again, you need to have created the page that you want to redirect to. So this is where you would add it. But in this case, you know what? I don't want to do any of that. So I'm just going to leave it and I'm going now going to click on this link to activate it. OK, and then for drafts here, I also need to activate it.
And then one last step for this to work. You need to come over here now and also activate it. So now my recipe is live. But to be honest, this is a really a really funny name. This needs to be labeled correctly. And so that when you have quite a lot of these on your site, you can always go in and see what is happening based on these recipe titles. So remember, recipes are to do with the type of “Automations” or just basically “Automations” on your WordPress website.
So Automator works really, really well with our membership plugin in this case, of course it's WishList Member. So these are the sort of actions that you can take. In the next video, I'm going to show you other ways that you can use Uncanny Automator to automate other processes on your Membership Level website. All right. Thanks for watching. Don't forget to hit the subscribe and bell notification. By doing so. You're going to be notified when we release new tutorials.
All right. See you later. Take care.
