Video Transcript
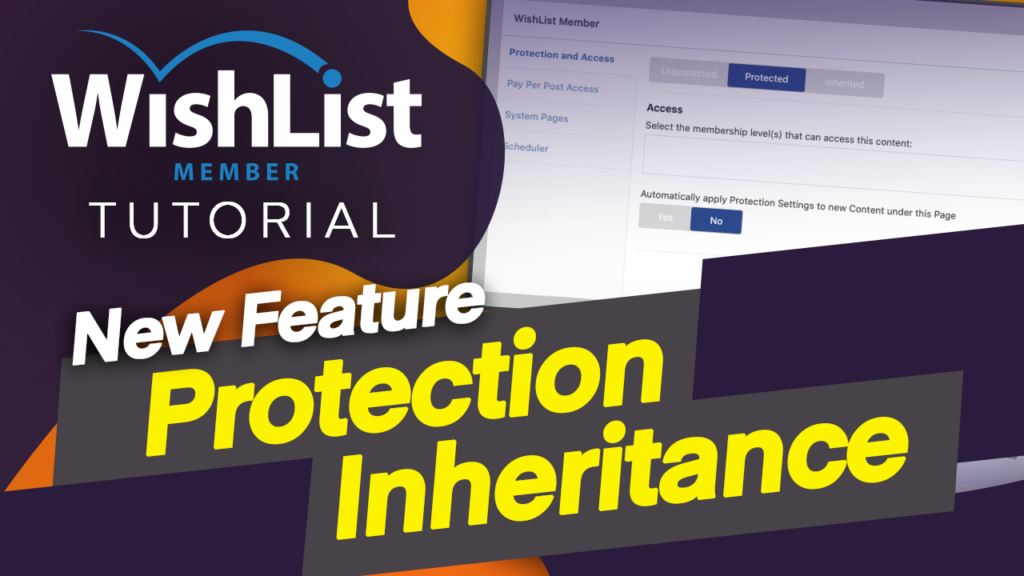
In today's video, I'm going to be talking about a feature that was recently released called Protection Inheritance.
Coming up.
Hello, everyone, and welcome. My name is Mak, and in today's video, we're going to be talking about Protection Inheritance. Now, this feature is very exciting and also very important. It's going to make it easier for you to add your content on your WishList Member website. But before I go into explaining how it works, pretty much, let me just show you. I'll give you an example of what the current situation is at the moment before you do your update.
All right. So I'm going to switch over now to my site over here. Now, as you can see here, I have this course and I just call it “My Course.” So currently or in fact, before the update, what happens is if you were to launch your course, I mean, let's go into this course and see how many lessons we have. OK, so let's say you've created your course and it has, let's say, two lessons, right?
In this case, this is my main course here. If I come to the builder, we can see here we have lesson one. So if you were to launch this course, it all protects the course and the lesson. And that's good. And that's how everything has been working before. But at a later stage, if you decided, you know what, I need to add more lessons to this course. So let's say I add lesson two lesson three, lesson four, guess what?
That content is not automatically protected. You would have to go into WishList Member settings and make sure you assign permissions to those extra lessons that you've just added onto that course. So as you can see, this is a bit of a problem because sometimes you may not even remember that you have to go in and make those updates because and even I've done that, I've made that mistake. I thought, OK, I've launched a course that's protected. So whatever I add is automatically updated.
But in fact, that's not the case because, perhaps, I didn't have a situation where I had to add an extra lesson to my already published course. That's why I didn't see any problems. But you can see how this could be a problem for someone that's creating a course that needs to update that content. So this is where this brand new feature that was recently released comes in because it allows you not to automatically protect that content, which is under a parent child relationship.
Now, let me explain what that means. So I know I'm talking about courses right now here on my site, but this could be applied to pretty much anything. So you could create a page on your website and on that page you create a child under it. So let's go ahead and take a look and see how that would work, just in case some of you may not know how this child-parent situation works in WordPress. So I'm going to come over here and add a new page.
So let's call this page “Parent” and let's publish it. OK, so I'm going to go back over here now, I'm going to create another page, but this time I'm going to call it “Child.” So I'm going to come over here and click on “Add New.” We're going to call this “Child.” Now, if you take a look here at the bottom, you see where it says “parent page” and then he says, “no parent.” So I can now come over here and then look for my page.
So I want to go for “Parent.” So that means now that this child page becomes under the parent of my parent page. OK, so now I'm going to publish it and publish it one more time. Now I'm going to go back to my pages now and see what this scenario looks like. So back over here now, if I take a look at my pages, you can see now we have the parent and we have the child. OK, so when using WishList Member, if I were to go in here and protect this page, the parent, right, everything under it as the child will then automatically be protected.
But of course, like I said, you have to update to the latest WishList Member install. So I want to go ahead and do that update to the latest WishList Member and then show you where this feature is. OK, so I've gone ahead and I've updated WishList Member to the latest update. So now we're going to go in and take a look at this feature. So I'm going to go in here and click on edit. Right. So let's say I need to protect this page.
I would scroll all the way down here. So, as you can see, it says “Unprotected.” So now I can click on Protected and if I scroll down further, I can also add my Membership Level. So in this case, maybe I need to assign people that have access to this, to the VIP membership. And then over here, now this is the brand new feature. So if you're running an old install of WishList Member, you would not see this.
This is the latest update. So now here it says “Automatically Apply Protection Settings to New Content Under this Page.” So that means if I say yes and then I say “Protect Existing” now, this applies my protection to the VIP members here and now. If I say yes, now, all I have to do is to hit “Apply Settings.” So any future content that I add is going to have this protection now. And this means if the child content that I'll be adding onto this, it will be automatically protected.
So let's see how true that is. So we're going to come back over here. So let's take a look now at this page. Now, notice that we haven't gone in and done any protection on this. So if I click here on “Edit,” so I just want to see what settings I have here in terms of the protection. So if I scroll down here now, you see that it says “Inherited” and it says “Inherited from Parents” and then “Inherited Status: Protected” “Inherited Level: VIP.”
So that means the protection that I have on my parent page will then trickle down to my child pages. OK, so let's add another page to the parent. So we're going to come back over here now and let's say we want to add the sample page here as a child. So let's go ahead and click on “Edit”. Now, I'm going to come all the way down here and make that change so you can see here it says “Parent Page”.
So if I click here on this dropdown, let's go ahead and choose our parents.
Click on “Update.” Now, I don't know if you saw that now that happened really fast, this changed from “Unprotected” to “Inherited” and straight away. You can see now it has all the permissions. Now, this does not only apply to pages, by the way, this also applied to courses. So if I were to come back over here, because I know I started off this example talking about the courses. So if I were to come over here to LearnDash and then go to courses and go into “My Course”, you are also going to see this feature.
So I'm going to come all the way down here and now we have this feature. So by default, of course, it's going to be set to “No.” And until you “Activate” it. So again, if we say yes to this protect existing now and then we say yes and then apply settings, all the lessons that go under this course, my course is going to be protected, which means you don't have to come all the way here. In fact, let me show you where that feature is.
So if you wanted to protect all the lessons, you would need to come over here to content protection and then find the list of lessons, for example, here. And then this is where you'd say “enable” protection. And then you would go one by one and start assigning all your protection levels. So you don't need to do that any more. All you have to do is to assign the protection onto your main course and all the lessons that come down are going to be protected based on the settings of the parent.
This also applies to pages, as I've just demonstrated. But of course, if you have any confusion on how this works, you can always ask in the comments box below and I'll be very happy to respond to that or even expand on the video giving even further examples. But this is the feature, in my opinion. This is a great feature and it's fantastic. And it'll save you a lot of time moving forward as we create content for our membership websites.
All right, guys, that's all I have for you in today's video. Thank you very much for watching. I'll see you again in the next one. Take care.


