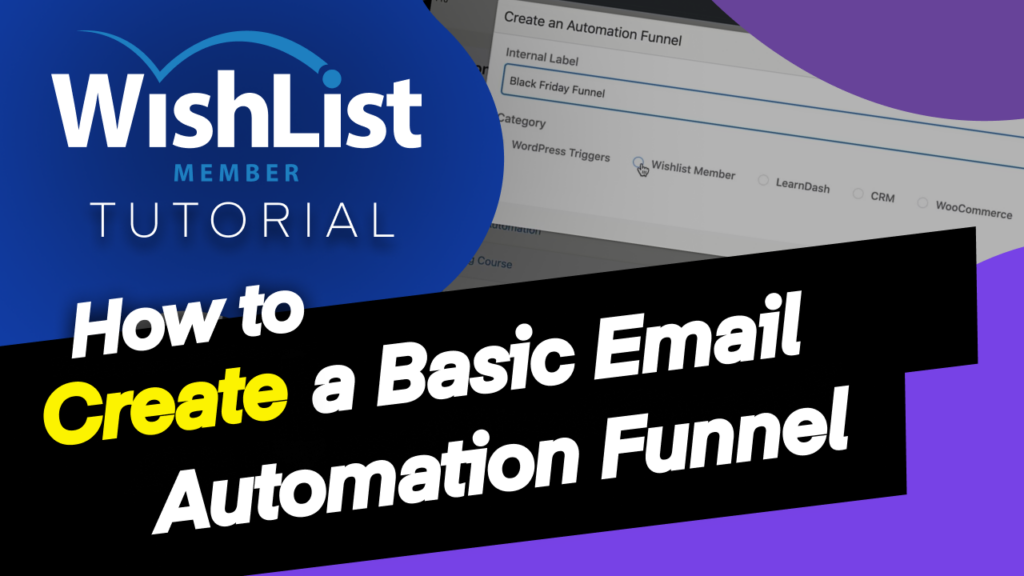
In this video, I'm going to show you step-by-step how to automate your WishList Member website with FluentCRM automation.
Coming up.
Hello, everyone, and welcome. My name is Mak, and in today's video, I'm going to show you how to create automation funnels using FluentCRM on your WishList Member website.
Let's dove in and let me show you how. So the first step is to create a Membership Level because in FluentCRM everything is started by a trigger on someone being added to a Membership Level. So I'm going to come over here to my dashboard so you can see here I've really got “Free Audio,” “VIP Mak.” But let's create a brand new one. So this Membership Level, let's call it “Black Friday.” So I'm going to come over here and click on this plus button and we're going to call it “Black Friday.”
OK, great. So now that we have this level, I'm going to click “apply” and now this is going to be added onto my levels, of course, here, we can go ahead and set up our registration links and so forth. But you know what? We're not going to spend too much time on that. I'm going to click here on “Return to levels.” OK, so now that we've created our Membership Level, that is great.
So we also want to create a product because we want that when someone buys something on our website, they get added to that Membership Level. So let's go ahead now and create a product on WooCommerce. So when I come over here to “Products,” click on “Add New.” OK, so let's call this “Black Friday Offer.” OK, so that's going to be our product and also need to add the price to this. So I'm going to scroll down here and add my price.
So let's say this is $97. OK, so pretty much that's all I need to do here. I'm going now to hit “Publish” and our “Black Friday Offer” product has been published.
OK, so now that we have those two things in place, we have our Membership Level, we also have our product. Now let's head over here and add our basic automation. So I'm going to come back to my dashboard. I'm going to go to my Membership Level, which is our “Black Friday.” And then next, you can see here that we don't have much set up. So I'm going to go to “Setup” and then under “Black Friday.”
In fact, I need to go to “Integrations” and then here I will go to WooCommerce. I'm going to “Activate” WooCommerce, and then I'm going to link my products, I'm going to choose my product and the product is the “Black Friday Offer” and the Membership Level is going to be “Black Friday.” So, you know, just what I've done here, I've pretty much automated the system between WishList Member and WooCommerce. So when someone buys a product from WishList Member, it's going to be added onto my Membership Level.
OK, so here's the WooCommerce product, and here's the access. Hit “Save” then close.
Great. So pretty much that's all we need to do. The next step now is to come over here to FluentCRM. So I'm going to create the automation now. So if I come over here to “Automations.” All right. So I'm here now on “Automations.” Next, I'm going to click on “Create a New Automation” and let's call this “Black Friday Funnel.”
Right. So since we're working with WishList Member, we can either make our trigger here from WishList Member to do certain things.
And we can also use the WooCommerce triggers as well because our integration now is here. So let's go to WishList Member. We're going to say “A Member Added to Membership Level.” Click on “Continue.”
Now it's time to choose which Membership Level. OK, so our subscription status here is “Subscribed” because when someone buys the product, they are pretty much subscribed onto our website. Now let's choose our Membership Level and it's going to be “Black Friday” and then I'm going to click on “Save Settings.”
So this is going to be the trigger point. So when this action happens, when someone gets added to that Membership Level, this is where now we can add all our emails and everything else that we need to do. So now what we can do is, first of all, the member has bought a product. They've been added to a Membership Level. Ideally, you want to give them a tag so that next time we send emails out, they can be sent based on the tags.
So I'm going to click on this plus button and let's add a tag, click “ApplyTag.” I think we've got “Black Friday,” OK, there's the “Black Friday” tag or we can create a new one so we can say “Black Friday customer.”
So let's just simplify this “BF customer” I'm gonna click on “Add.” So now we've created a tag for someone that buys the product and gets added to that Membership Level. OK, so I'm going to now click on this dropdown and here it is, “BF customer,” “Save Settings.”
OK, so this is the logical order when someone gets added to this Membership Level, we're going to apply a tag, click on this plus button, and then we're going to say, you know what? We are going to send a custom email so we can just call this “Welcome.” We can give this email subject. OK, now we can start adding the body of our email.
So we're going to say “Hello” and add the add sign. And this is going to give us a prefix. And then we're just going to type in our information here for the email, so that's the contents of the email, and this is where you can add your links to the dashboard or what you want the user to know about, you know, the Membership Level or whatever it is. Again, you can also use this as a promotional tool so you can use this to promote other courses or other products on your website.
OK, so I'm just going to save this, but you get the idea. OK, so now we have three stages.
So someone buys I mean, someone gets added to this Membership Level the tag is applied and then they get a welcome email. We can also click on this plus button and say maybe “Wait One Day,” “save settings,” and then after one day, we can decide, OK, so what do we need to do?
We can send them an email from an existing email campaign by coming over here or we can set email sequences. So here. But these need to be created beforehand because if you don't create them beforehand, basically this step won't work. So “Send Campaign Emails” so we can just come over here. And this now is going to show us all our campaign emails. So let's say I need to send this email campaign about lifetime membership. I can do that and then click on “Save.”
And now we are sending a campaign. But this is happening after one day. So as you can see, this is a very, very powerful system. And just by doing that, I've managed to go in and create an automation funnel for our membership website using WishList Member and FluentCRM.
Now, there are several things that you can do with this. In the future, I'll be giving you other scenarios that we can use to better enhance our membership websites and also to create other processes just to make the whole system work professionally and also keep your users engaged.
All right, guys, that's all I have for you in today's video. Thank you very much for watching.
And I'll see you in the next video.
Don't forget to subscribe and bell notification. Take care.
