Enable X (formerly Twitter) Social Provider
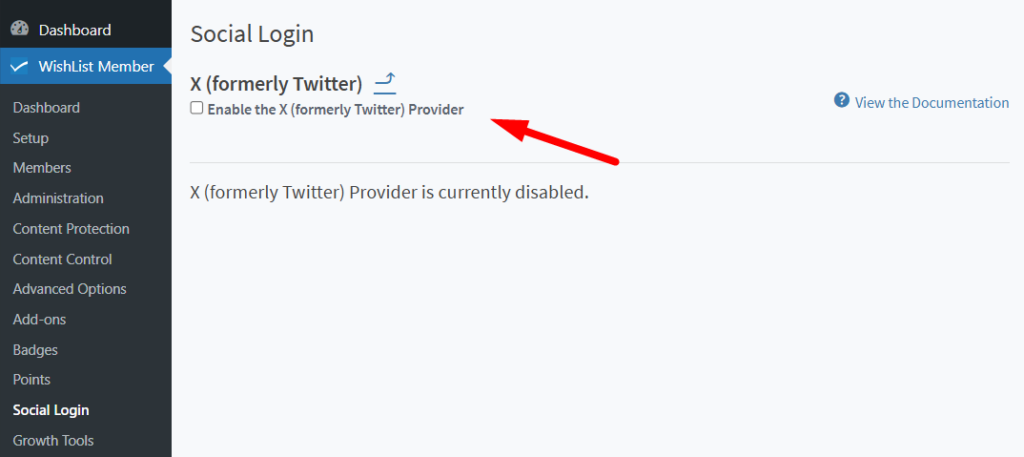
You can select and enable the X (formerly Twitter) option in the Social Login section of WishList Member.

—
The X (formerly Twitter) configuration section appears and you can click to “Enable the X (formerly Twitter) Provider”.

—
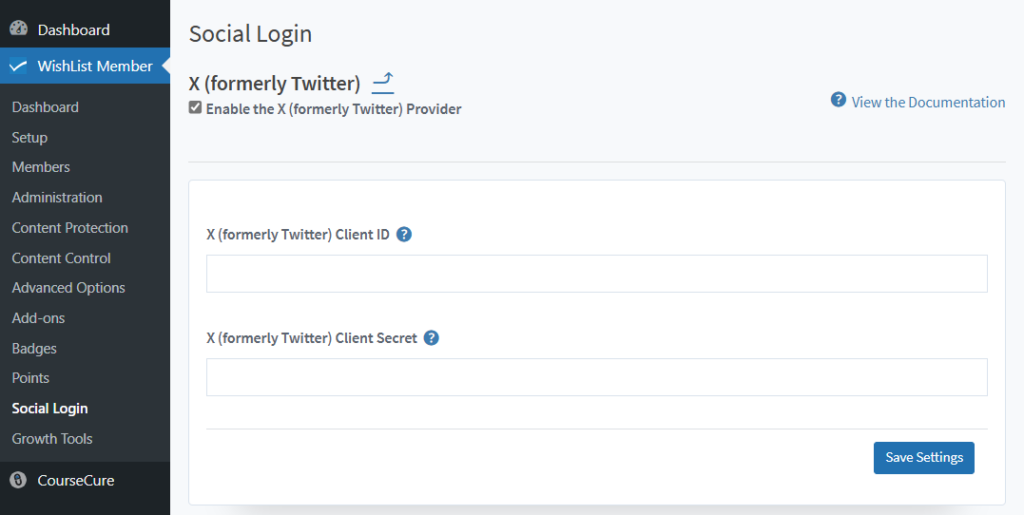
The X (formerly Twitter) configuration section will now display two fields required to connect your site with your X (formerly Twitter) App. This is because WishList Member and X (formerly Twitter) need to be connected using the X (formerly Twitter) Client ID and X (formerly Twitter) Client Secret provided by X (formerly Twitter). This connection process is explained below the following screenshot.

—
Connecting WishList Member and X (formerly Twitter)
You will need to create an X (formerly Twitter) App in order to allow your users to login with their X (formerly Twitter) accounts.
The first step is navigating to https://developer.twitter.com/en/portal/projects-and-apps and logging in with your X (formerly Twitter) account in order to create your X (formerly Twitter) App.

—
Creating an X (formerly Twitter) App
Once logged in with your X (formerly Twitter) Developer account, click the project you want to use for this integration on the left side navigation in the Projects & Apps section.
You can use the “+ Add Project” Button if you don't have a project created yet.

—
In that case, you will just need to run through the basic setup by selecting your Project Name, Use Case and adding a Project Description.

—
Once the project has been created, click the project name on the left side navigation in the Projects & Apps section and click the “+ Add App” button on the bottom of the page. The project name is “My New Project” in the screenshot example below.

—
The Name Your App > App Name section appears. Enter a name for your app in the provided field and click the Next button.

—
The Name Your App > Keys & Tokens section appears. Click the App Settings button.

—
Setting Up Your X (formerly Twitter) App
The App is created based on the information above and the App Settings section appears. Click the Set Up button under User Authentication Settings.

—
The User Authentication Settings section appears. Set the App Permissions to Read and set the Type of App to Web App, Automated App or Bot.

—
Scroll down the page and add the following URL to the “Callback URI / Redirect URL” field. You will need to replace YOUR-SITE-URL with your actual site URL.
https://YOUR-SITE-URL.com/?wishlist_member-sl-callback=twitterAdd you site URL to the Website URL field. You will need to replace YOUR-SITE-URL with your actual site URL.
https://YOUR-SITE-URL.comOnce all the fields are filled in as explained above, click the Save button on the bottom of the page.

—
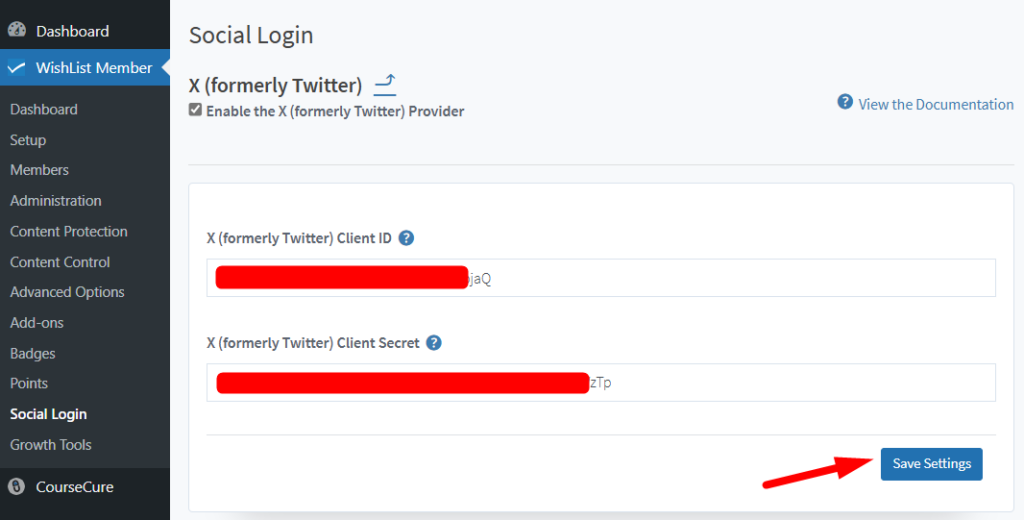
You are directed to a page that contains the OAuth Client ID and Client Secret fields. Copy each field value and paste it into the corresponding field in WishList Member.

—
Click the Save Settings button in WishList Member once the two fields have been filled in.

—
Once you have saved the Client ID and Client Secret, click the Verify Settings button to complete the integration.

—
The X (formerly Twitter) verification screen will be displayed. Click the Authorize App button to confirm the integration.

—
A successful verification message will be displayed and X (formerly Twitter) is now connected with WishList Member.

—
