Enable WordPress.com Social Provider
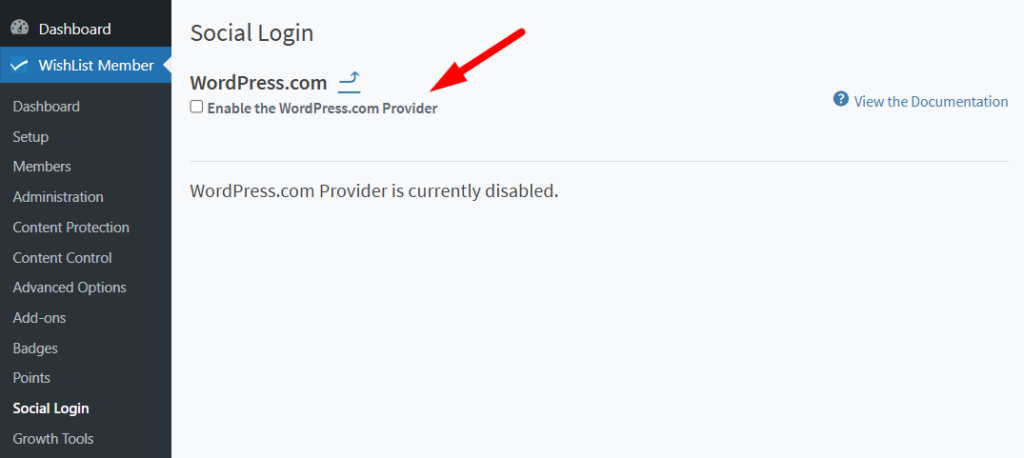
You can select and enable the WordPress.com option in the Social Login section of WishList Member.

—
The WordPress.com configuration section appears and you can click to “Enable the WordPress.com Provider”.

—
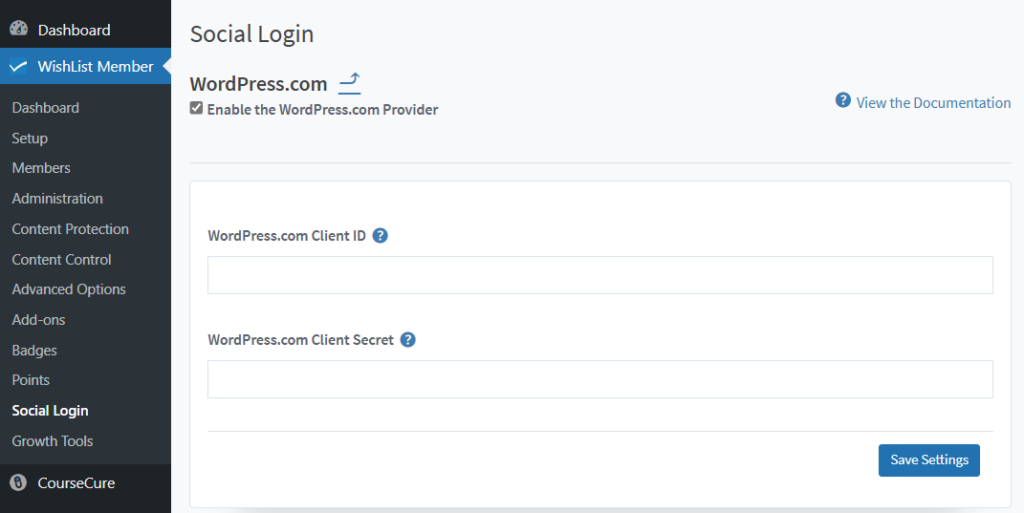
The WordPress.com configuration section will now display two fields required to connect your site with your WordPress.com App. This is because WishList Member and WordPress.com need to be connected using the WordPress.com Client ID and WordPress.com Client Secret provided by WordPress.com. This connection process is explained below the following screenshot.

—
Connecting WishList Member and WordPress.com
You will need to create a WordPress.com App in order to allow your users to login with their WordPress.com accounts.
The first step is navigating to https://developer.wordpress.com/apps and logging in with your WordPress.com account in order to create your WordPress.com App.
Creating a WordPress.com App
Once logged into your WordPress.com account as noted above, click the Create New Application link on the top right of the page.

—
The Create an Application section appears and you will need to fill in the following fields:
Name. The name of your WordPress.com application.
Description. The description of your WordPress.com application. Example: This Application allows users to login to my WordPress website using their WordPress.com account. (Note: This message will be shown to your users when they visit your site and click the WordPress.com login option the first time.)
Website URL. The homepage URL of the site you are integrating with WishList Member Social Login.
Redirect URL. Add the following URL as the Redirect URL:
https://YOUR-SITE-URL/?wishlist_member-sl-callback=wordpresscom
Javascript Origins. The homepage URL of the site you are integrating with WishList Member Social Login
Answer the math security question.
Type. Select the “Web clients must be able to keep the generated secret private and should do all authenticated API calls server to server” option.
Once the fields have been filled in, scroll down to the bottom of the page and click on the Create button.

—
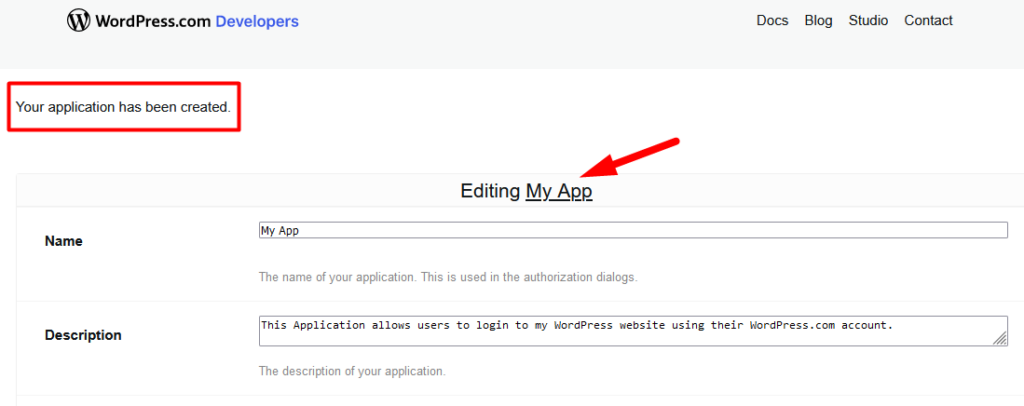
The WordPress.com App has now been created and the Editing My App section appears.
Setting Up Your WordPress.com App
Once you have a WordPress.com app created, click the App Title at the top of the page. In this example, the app is named “My App”.

—
The App section appears and the last step to connect WordPress.com with WishList Member is by using the Client ID and Client Secret provided by WordPress.com. These two pieces of information are available in the App > OAuth Information section.
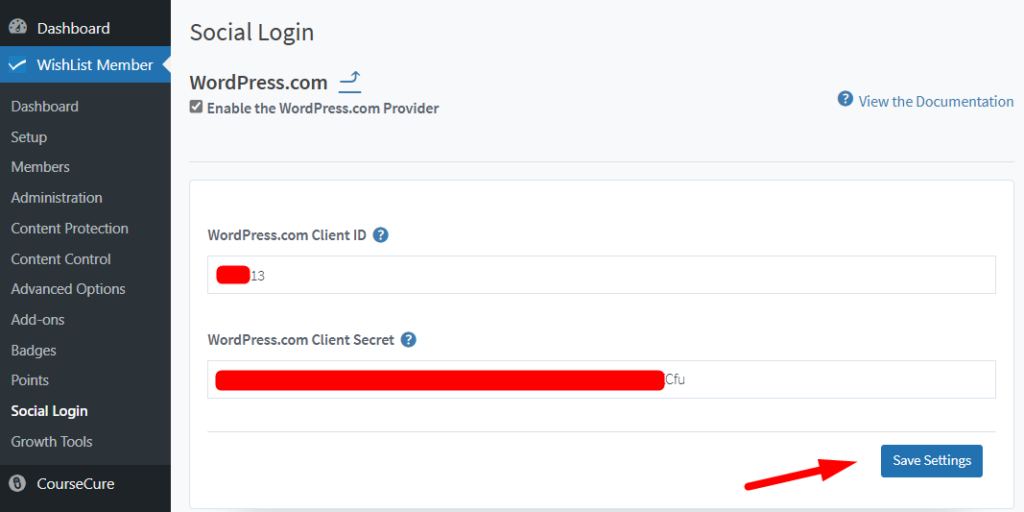
Copy each field value and paste it into the corresponding fields in WishList Member.

—
Click the Save Settings button in WishList Member once the two fields have been filled in.

—
Once you have saved the Client ID and Client Secret, click the Verify Settings button to confirm the integration.

—
The WordPress.com verification screen will be displayed. Click the Approve button to confirm the integration.

—
A successful verification message will be displayed and WordPress.com is now connected with WishList Member.

—
