WishList Member include integrations with Infusionsoft by Keap that will allow you to accept payment for access to your site and use the Infusionsoft by Keap email features.
This includes tagging capabilities that can be used with the Infusionsoft by Keap payment provider integration with WishList Member.
Once you have integrated WishList Member with Infusionsoft by Keap, you can configure tags you've created in Infusionsoft by Keap to be applied to users or removed from users based on actions that occur within WishList Member. This can range from users being added to a level or removed from a level to users being cancelled or expired from a level (and more).
—
Managing Infusionsoft by Keap Tags
You can set if users should have a Tag Applied or a Tag Removed in Infusionsoft by Keap if any of the following happens in WishList Member:
When Added. Set if a user should have a Tag Applied or a Tag Removed when they are Added to this level.
When Removed. Set if a user should have a Tag Applied or a Tag Removed when they are Removed from this level.
When Cancelled. Set if a user should have a Tag Applied or a Tag Removed when they are Cancelled from this level.
When Uncancelled. Set if a user should have a Tag Applied or a Tag Removed when they are Uncancelled from this level.
When Expired. Set if a user should have a Tag Applied or a Tag Removed when they are Expired from this level.
When Unexpired. Set if a user should have a Tag Applied or a Tag Removed when they are Unexpired from this level.
—
You will see the the membership levels in the Setup > Integrations > Payment Providers > *Select Infusionsoft by Keap* > Products section in WishList Member. Click the Name or Edit Icon to edit one of the listed membership levels and select when users should get a Tag Applied or a Tag Removed in Infusionsoft by Keap.

—
The Editing Infusionsoft by Keap Tags for *Level Name* popup will appear. You can select the trigger from the available options. This includes Added, Removed, Cancelled, Uncancelled, Expired and Unexpired.

—
The Apply Tags and Remove Tags dropdowns are populated with the tags within the connected Infusionsoft by Keap account.

—
You can select one or multiple tags to be applied based on the chosen trigger.
The example screenshot below shows a configuration that will apply the New Customer tag in Infusionsoft for Keap while also removing the New Lead tag in Infusionsoft for Keap when users join or are added to the Gold level in WishList Member.

—
Tags in Your Infusionsoft by Keap Account
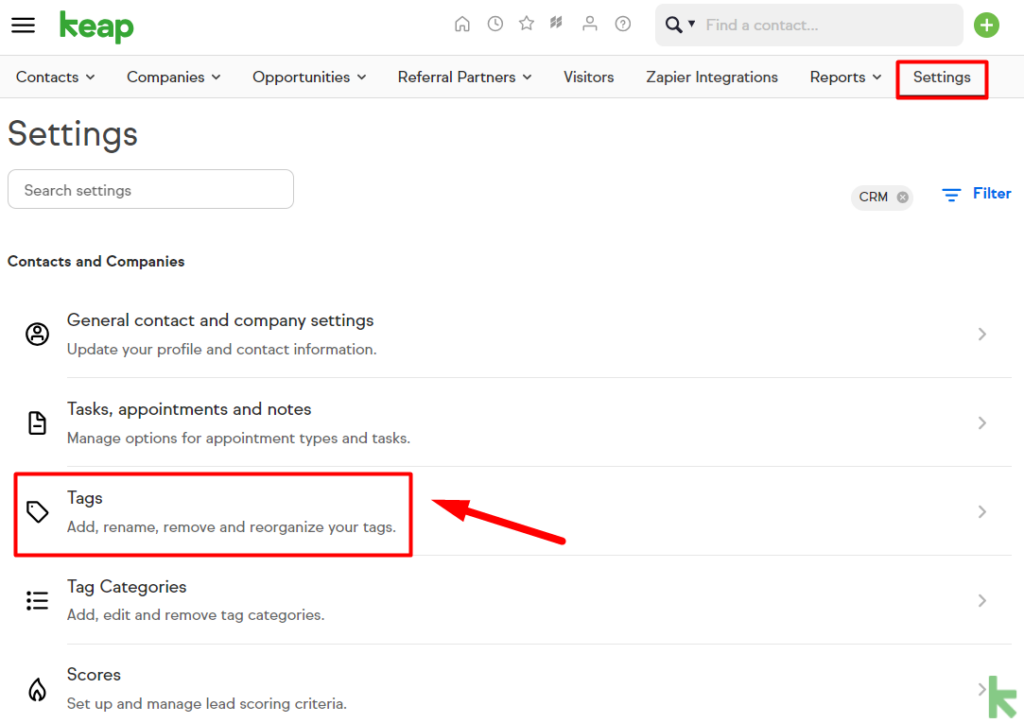
You will find your tags (and the option to create additional tags) in the Settings > Tags section of Infusionsoft by Keap.

—
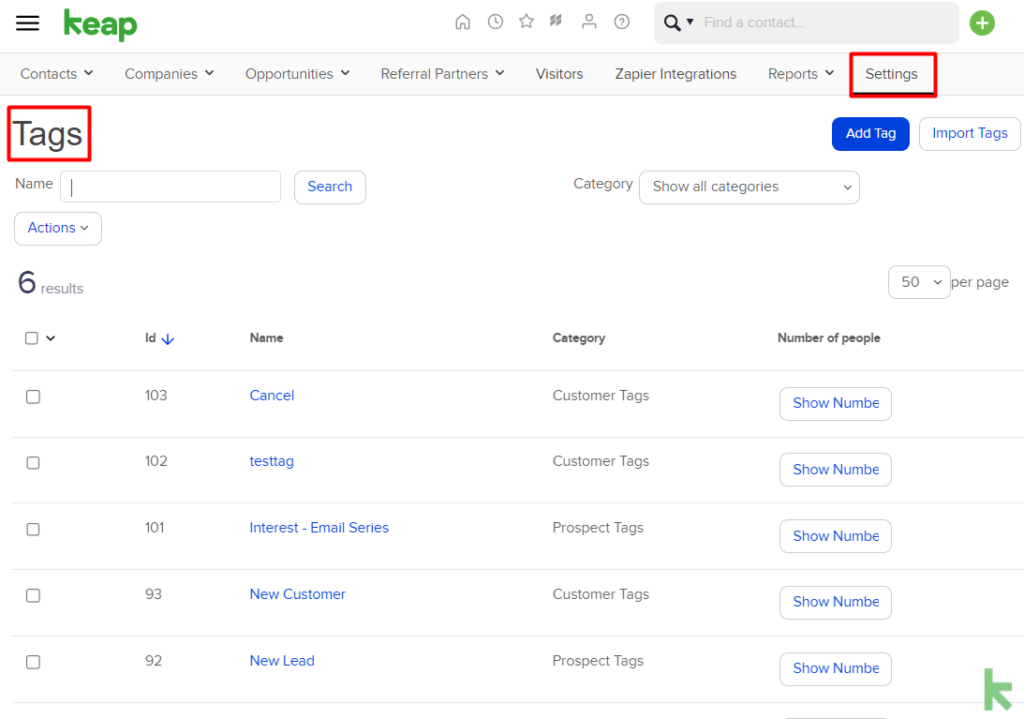
All your existing tags in the account will be displayed in the Tags section. You also have the option to create a new tag using the blue Add Tag button. The example screenshot below shows an account with six existing tags.

—
You can automate the application and removal of tags in Infusionsoft by Keap based on actions that happen within WishList Member. This allows you to manage and organize users within Infusionsoft by Keap in relation to their access within WishList Member.
