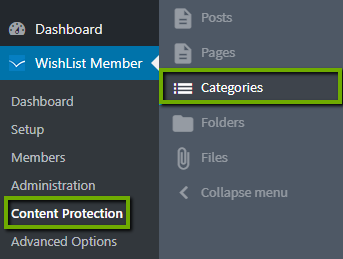
Navigate to the Content Protection menu in WishList Member. In the sub-menu, you will see a sub-menu for Categories. Here you can manage your categories and any custom taxonomies that exist within your site.

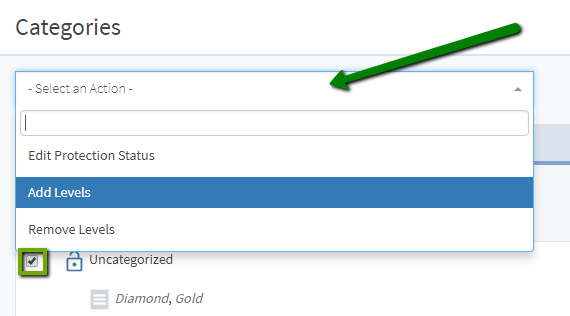
The “Select an Action” dropdown box contains the following options:
- Edit Protection Status. Select between protected or unprotected.
- Add Levels. Add to the levels that have access to this category.
- Remove Levels. Remove from the levels that have access to this category.
To manage categories and/or custom taxonomies in bulk, click the checkbox next to the ones you would like to manage and select the appropriate action from the “Select an Action” dropdown box.

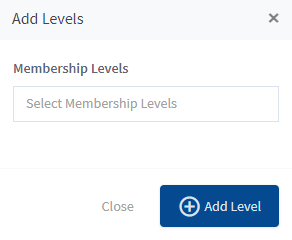
For each action, a pop-up will appear with the appropriate settings for that action. Once you've set those settings accordingly, click the button to execute the action.

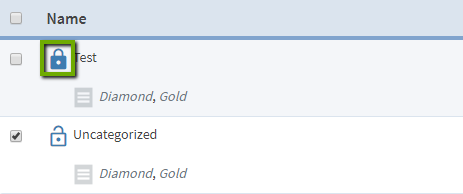
You can also edit the protection status of a category or custom taxonomy “inline” by simply clicking the “lock” icon next to its name. This will toggle the protection status between protected, unprotected and inherited (from parent).

