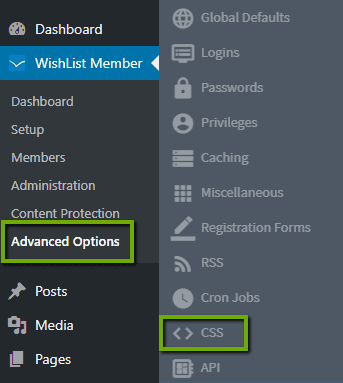
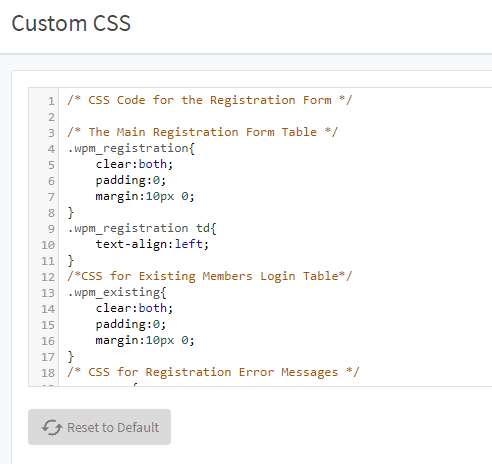
To edit the Custom CSS in WishList Member, navigate to the Advanced Options menu inside WishList Member. Then, select the “CSS” sub-menu.

You can edit the CSS for the following:

- Main Registration Form
- Existing Members Login
- Registration Error Messages
- Registration URL Custom Messages
- Registration Instructions Box
- Registration Instructions Box Links
- Registration Instructions Box Numbered Bullets
- Registration Instructions Box Bullets
- Login Widget
- Login Merge Code
If you are familiar with CSS, edit each declaration appropriately and click the “Save” button to save your settings.
—
Additional CSS for your site is typically controlled by your WordPress theme, so you could look into adjusting your theme files to change that styling.
In depth CSS editing isn't totally related to WishList Member settings, but we can help point in the right direction.
You can access the CSS of your theme in the Appearance – Theme Editor section.
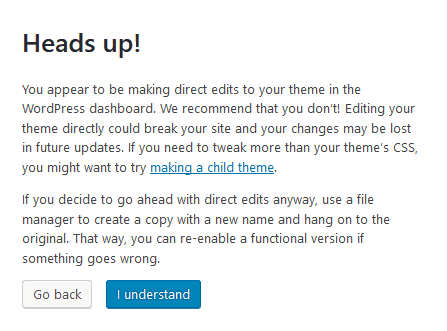
Note: WordPress may show a warning message in the Appearance – Theme Editor section stating the following:
(So, it is up to you to decide if you want to proceed)

